Newsheen
What if your squishy cat lamp was built by ethical hackers and made to mod, hack, and grow with you? Meet the Newsheen! After 5 years of teaching workshops at hacker conferences and kids cyber camps, we built the Newsheen to be the easiest way to get started hacking with IoT devices, and making your own smart devices.
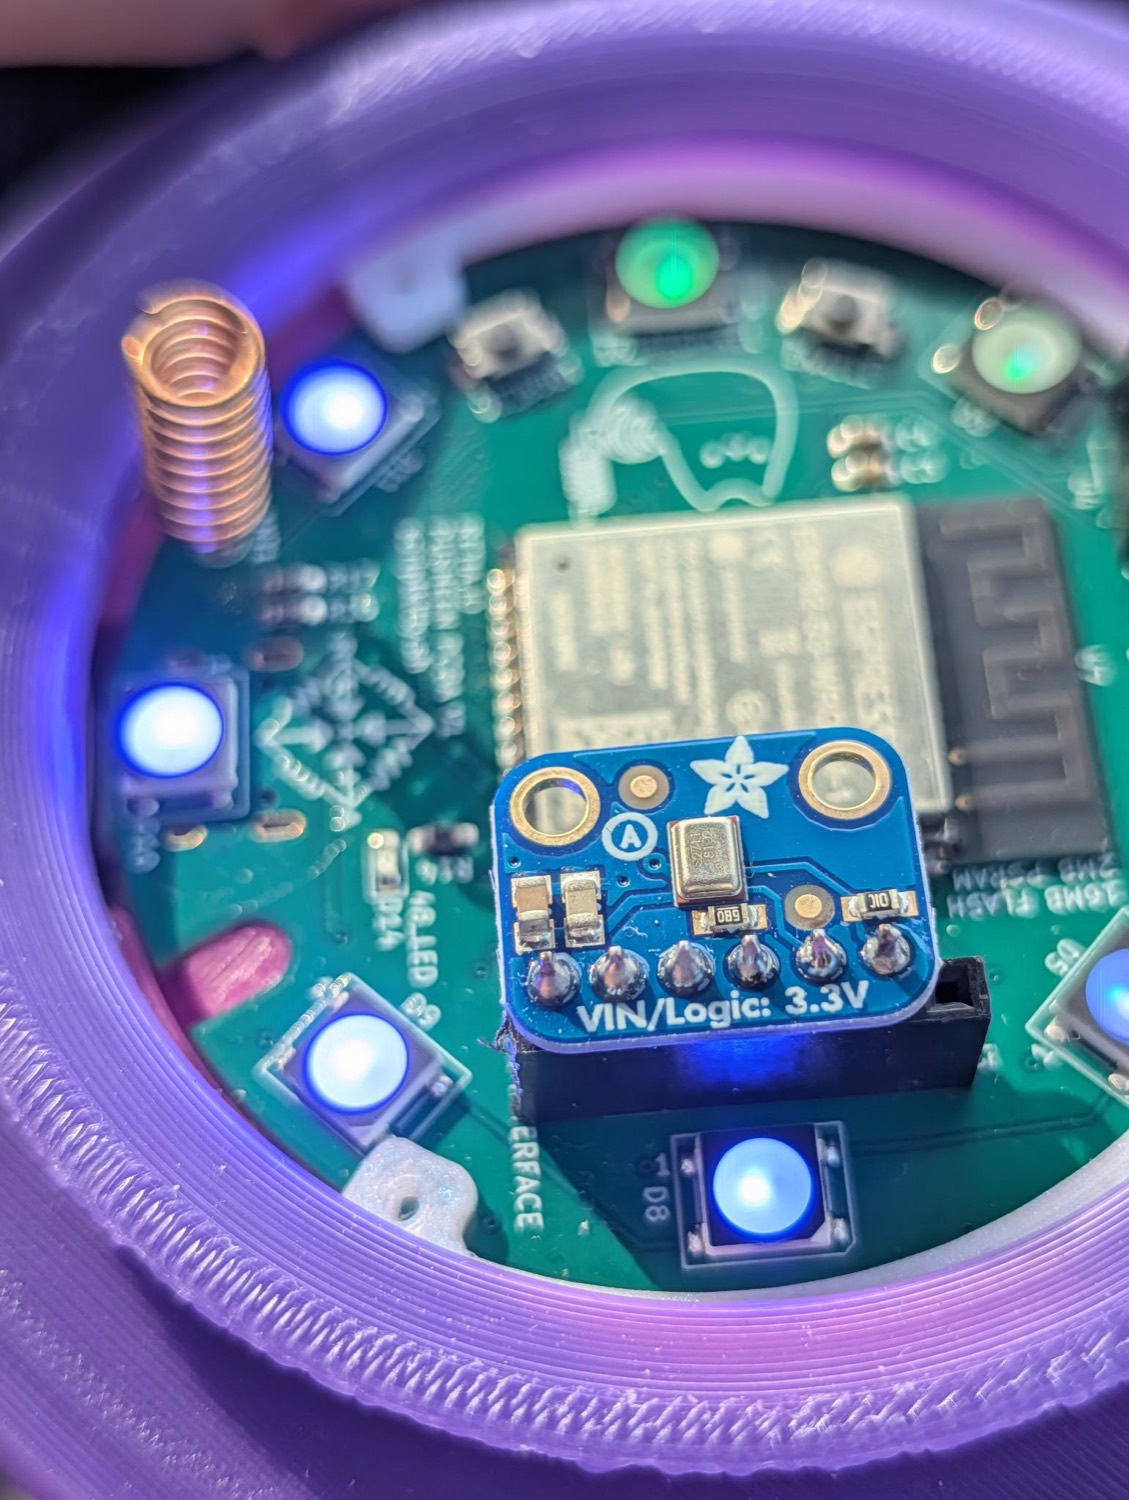
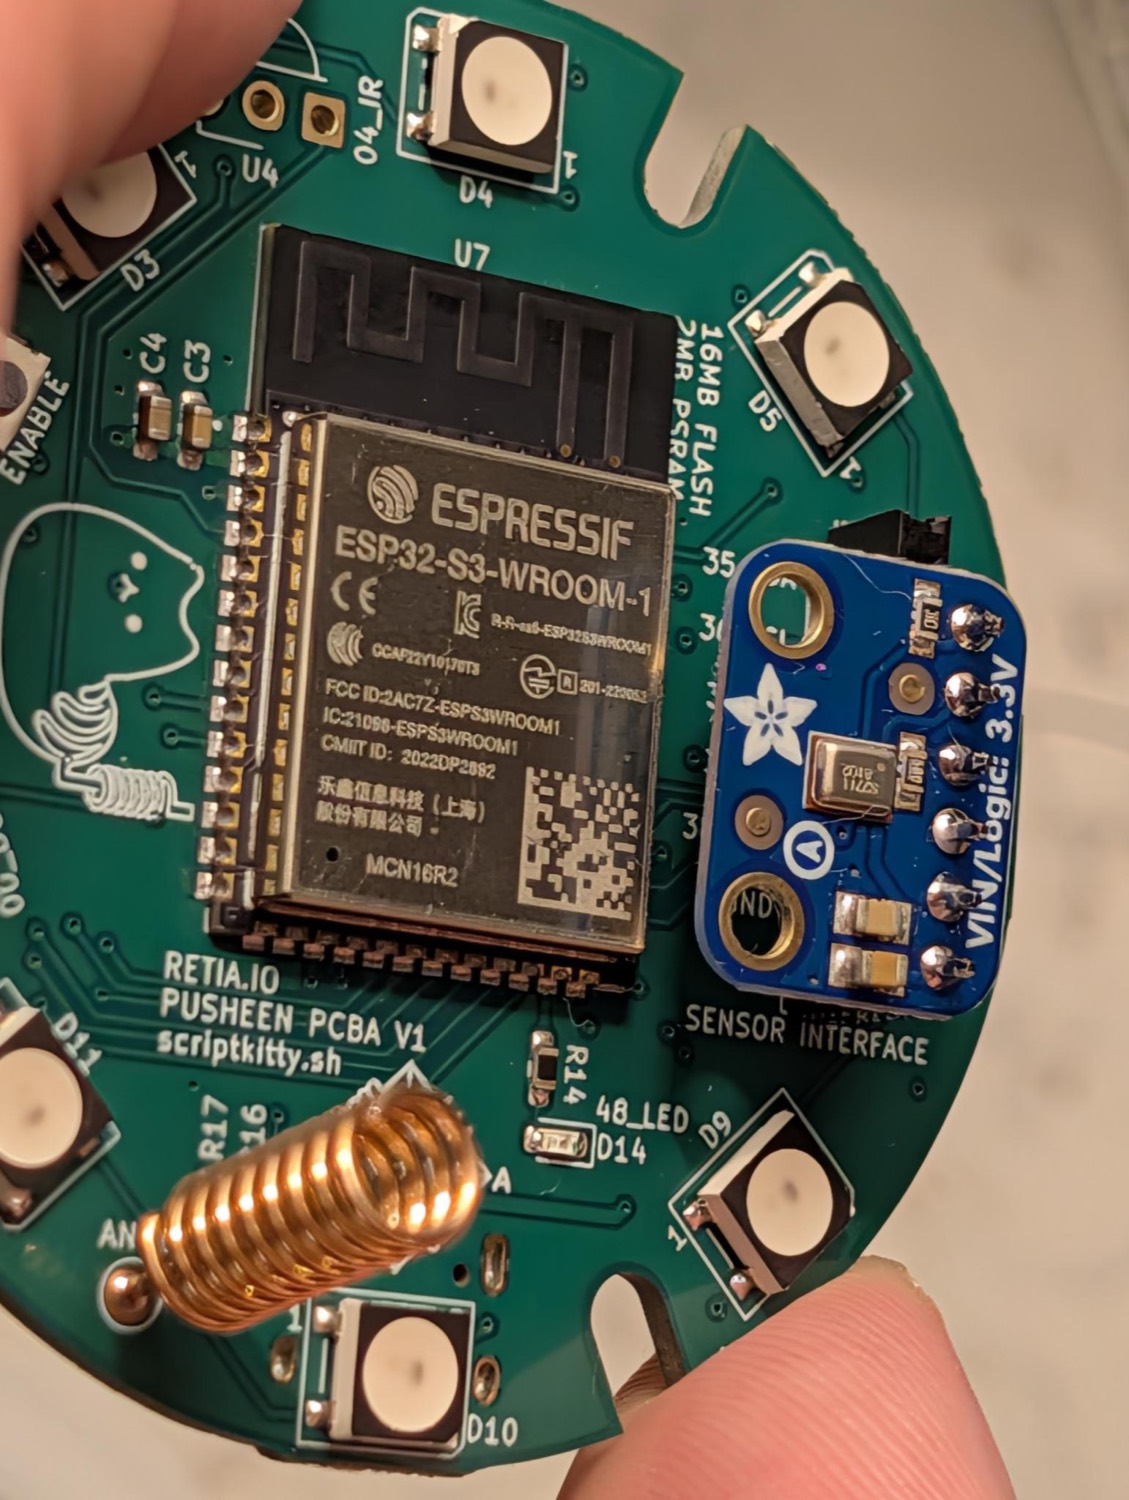
This little cat features Bluetooth, Wi-Fi, and native USB, and by default runs WLED, the open-source firmware that turns it into a flexible smart lamp. It supports hardware add-ons and IoT projects: add a microphone, IR receiver, speaker, or even a LoRa radio to transform your cat into an audio-reactive lamp, Meshtastic radio node, internet radio speaker, and more!
Glow up your cat in 3 steps
Your Sheen ships as a sweet and innocent smart lamp, flashed with the WLED project. Here's how to switch, or restore any Newsheen from scratch!
-
00
Using LoRa? Add a radio for mesh (optional).
The Sheen ships without a LoRa radio. Meshtastic, MeshCore and RNode need a Seeed Wio-SX1262 added. Once it's soldered in place, attach a 915 MHz antenna before you transmit. This is not needed for most builds! -
01
Plug into USB-C.
The S3's native USB shows up as a serial port with no drivers needed.hint: which serial port?
macOS/dev/cu.usbmodem*, Linux/dev/ttyACM0, WindowsCOMx. -
02
Flash a personality.
Pick a project you want your cat to run in the browser flasher and let it write. Every build is verified against a published hash before it touches your board. -
03
Reset & connect.
After flashing is complete, unplug your board and plug it back in to run the new firmware. Many firmware projects make their own Wi-Fi AP with a setup page.hint: connecting to WLED
for WLED (the default firmware) look for a Wi-Fi network starting withWLED-(it's unique to your cat) and connect with the passwordwled1234to reach the controls. Newsheen Radio makes its own captive page. Mesh builds pair to a phone or web app instead, over Bluetooth or USB.
Give your cat a personality
Flash a project in your browser over Web Serial, then use the same console to watch it boot and send it commands. One client per port, so close any other serial monitor first.
bins mirrored from scriptkitty.sh; each is verified against its hash before writing.
!! Sheen quirks worth knowing
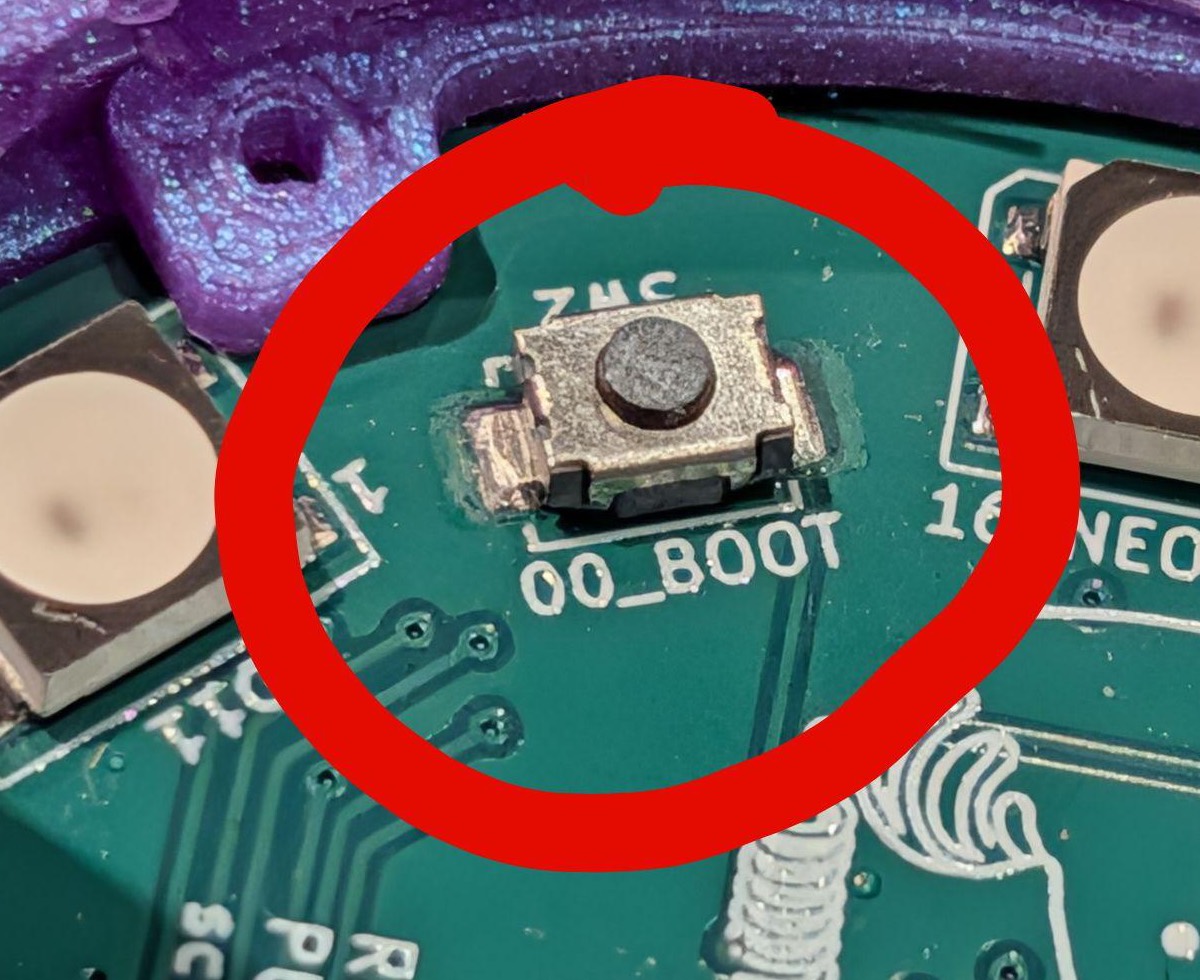
- Stuck flashing? Hold the
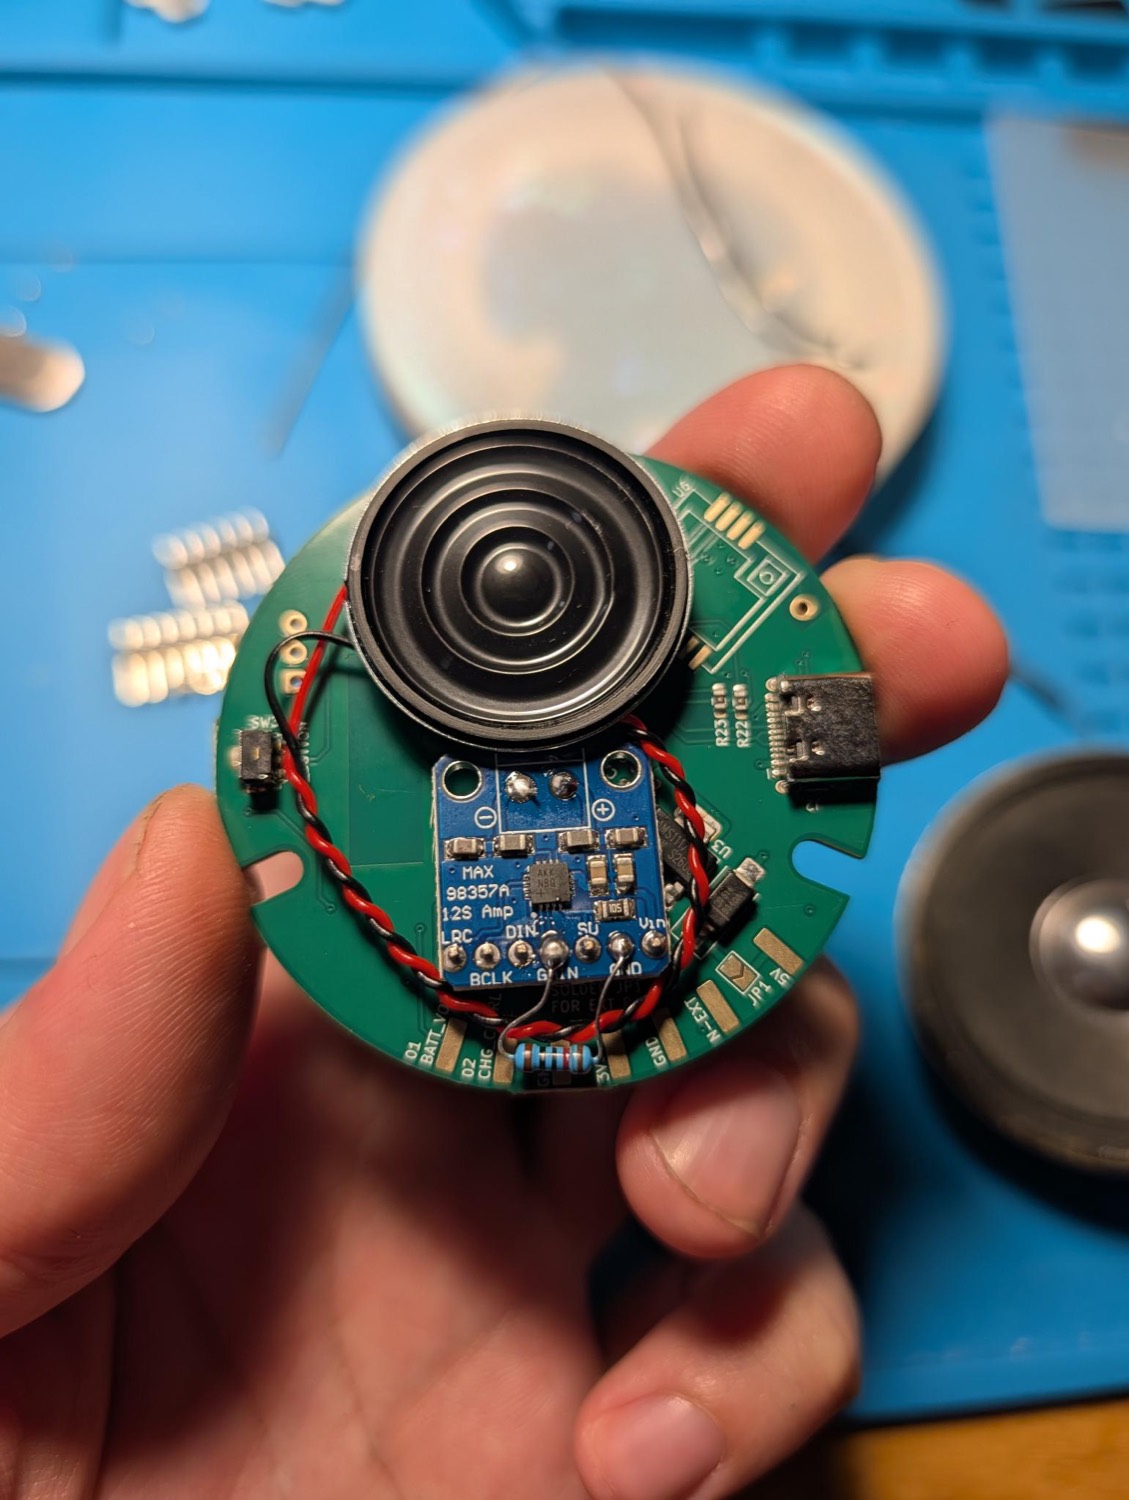
BOOTbutton while you plug in USB, then release: that forces download mode. Hit CONNECT again. - Add-ons unlock builds. Newsheen Radio needs a MAX98357A amp and speaker on the J3 header; WLEDkitty's sound-reactive mode needs an I²S mic there, and its remote needs the IR receiver fitted.
// bit pirate
HIZ> prompt. Type help for the 26 modes, or led to light the ring from the CLI.// meshtastic note
client.meshtastic.org.// rnode status
rnodeconf --info PORT straight away: no setup step.Flash popular open-source projects
Select and switch between any of these officially supported projects, or upload your own. They're all mirrored from scriptkitty.sh; hit flash to load one into the flasher above.
esp32_base_puck_v2). Each build's source repo has its own PlatformIO project with the board definition if you want to roll your own.Tech specs
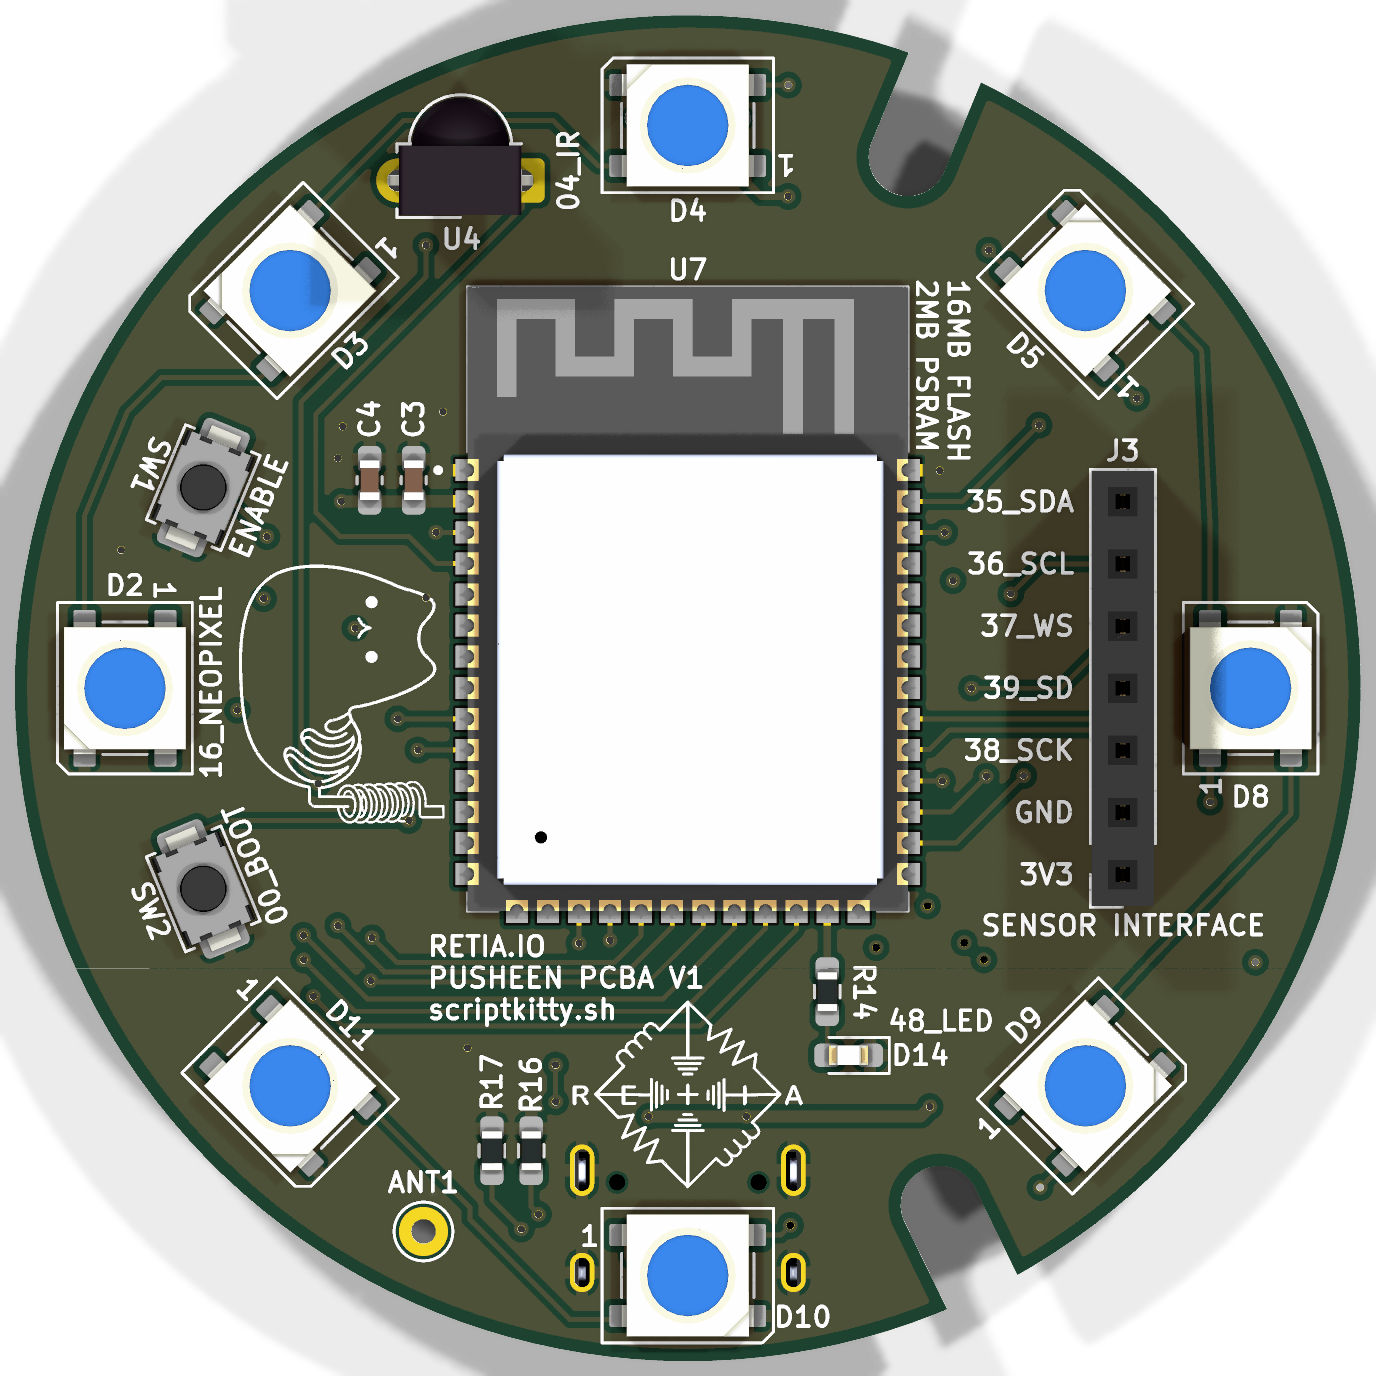
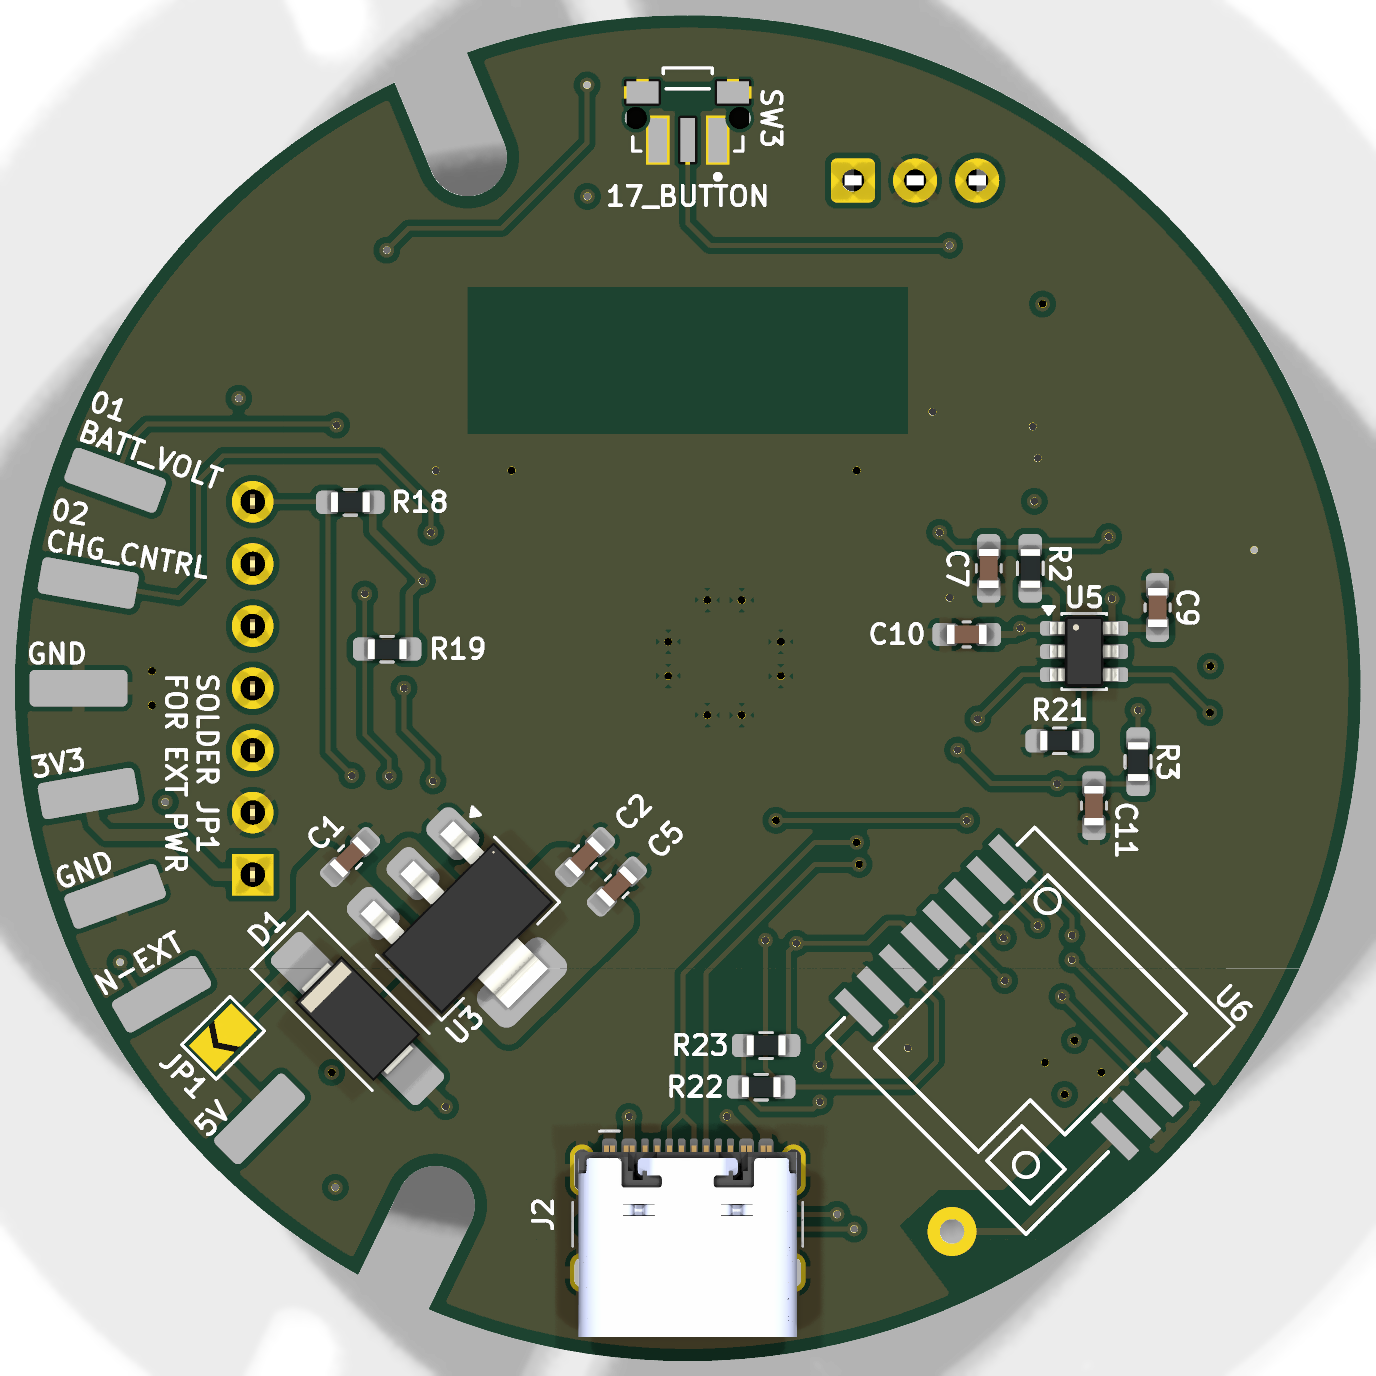
Stock: an ESP32-S3, 8 LEDs, a button, and USB-C. The radio, IR receiver, and mic/amp are footprints you populate to add capabilities.
Add hardware, add powers
The Sheen is ready to mod. Populate the sensor header, antenna pad, and IR spot to unlock new projects.
The shell & case files
The puck sits in a 3D-printed base under the translucent silicone lamp. Download the printable base, button, and retaining ring (v4) from the Newsheen repo.